As creatures with fragile, sensitive eyes, we naturally want to keep fingers away from them. It makes sense that putting in contact lenses feels counterintuitive, even a little frightening—you’re pretty much touching your eyeball!
But, like with most skills, practice is the key to success. We promise that putting in your contacts can feel as natural as slipping on a pair of glasses—and be just as safe.
To help you with the learning curve, we’ve composed a guide to putting in contacts for beginners (and anyone else who’d like a refresher).
Note: This guide applies to soft disposable contacts, not “hard” or rigid gas permeable contacts. Hard contact lenses require different instructions!
Disclaimer: This guide does not constitute actual medical advice; it represents the opinion of its authors and is for educational or informational purposes only. Readers should not use the information in this guide as a replacement for advice provided by their optometrist or optician. Readers with medical questions or concerns should contact their optometrist or optician.
The Easiest Way To Put in Contacts
There are six key steps to putting in contacts easily and safely.
1. Wash your hands
Handling contact lenses will transfer dirt, debris, and oil from your skin to the lens unless your hands are squeaky clean.
Wash them thoroughly with an oil- and fragrance-free soap, and dry them with a cloth or towel that doesn’t gather lint. A microfiber cloth is a great choice.
2. Clean the contact lens
Retrieve your contact lens from its case or disposable packaging. It should be sitting in a small well of contact solution, and you can pick it up gently between your fingers. Use the pads of your fingers, rather than your nails, so that you don’t rip or tear the lens.
Place the lens in the palm of your hand and give it a squirt of fresh contact solution, so it’s submerged in a small puddle. Never use tap water or anything other than approved contact solution—otherwise, you risk letting harmful bacteria and foreign materials gather on the lens.
Gently rub the contact lens back and forth on your palm with a single finger from your other hand. After 15 seconds or so, rinse it with another squirt of solution. This “rub and rinse” cleaning method ensures that the lens is free of substances that could irritate your eye.
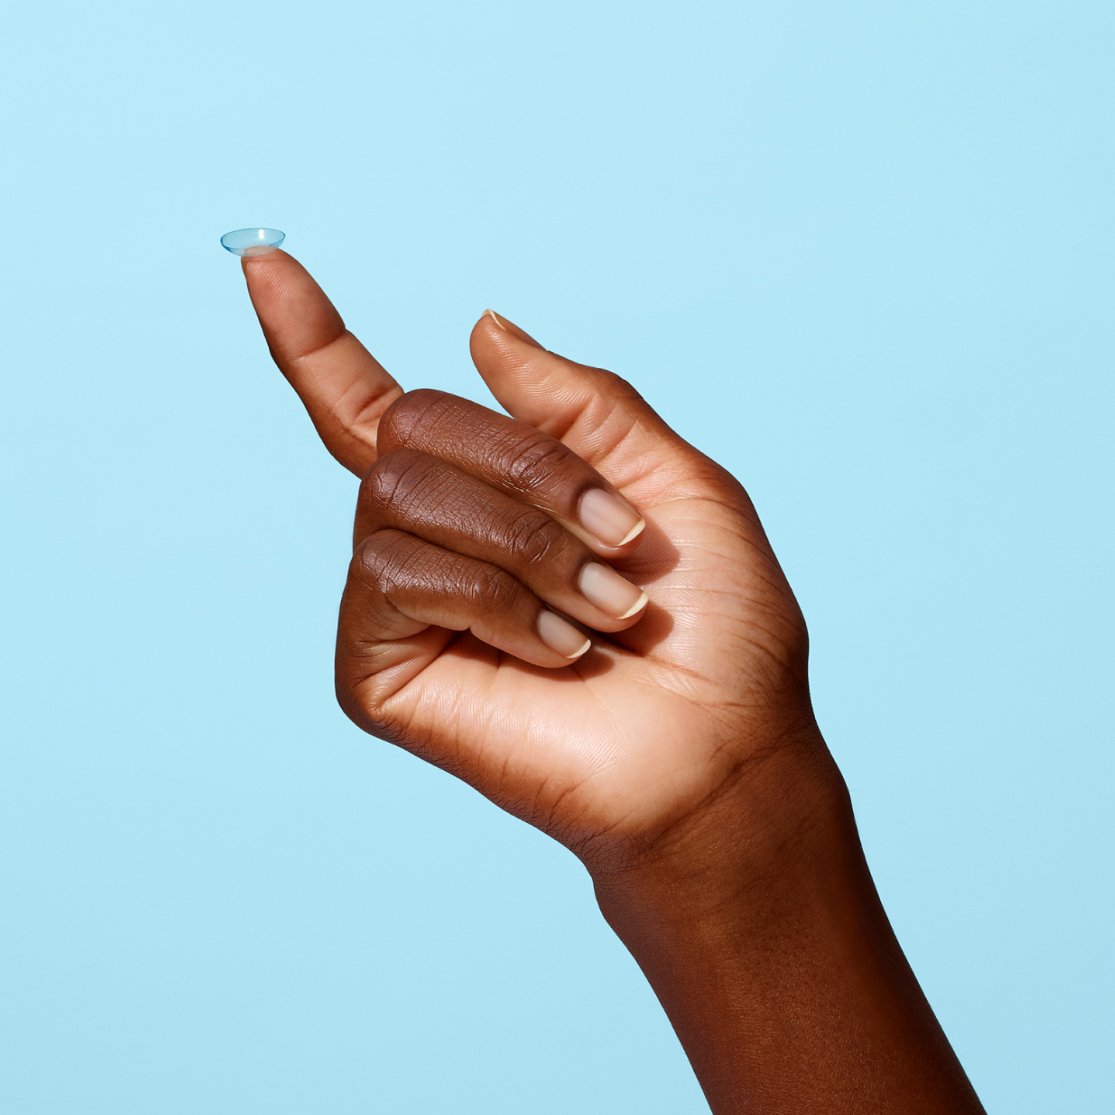
3. Hold the contact lens right-side out on the tip of your finger
Position the contact lens on the end of the index or middle finger of your dominant hand (or whichever hand you’d like to use to put it in your eye). The lens should look like a tiny bowl. If it looks like a dome, you need to turn it over!
You’ll also need to check that the lens is right-side out. An inside-out lens will have flared edges, like the bowl has a little lip going all the way around. A correctly flipped contact lens will have a neat, unflared rim.
Some lenses also have shapes or text printed on them that you can look for to confirm that it’s flipped the right way.
4. Hold your eye open (gently!)
With the hand that’s not holding the lens, carefully pull up on your upper eyelid so that more of your eye is exposed. Don’t yank it! Just use one finger to hold it open from above.
If you want even more space to work with, you can also pull down on your lower eyelid. Use an unoccupied finger on the hand that’s holding the lens.
Breathe. Try to keep from blinking. You’re doing great.
5. Place the contact lens in your eye
While looking in a mirror, slowly bring the finger with the contact lens perched on it up to your eye. Lightly touch the lens to the surface of your eye.
You won’t need to push on it any more than that—the lens should readily leave your finger and adhere to the moisture coating your eye.
Some people prefer to look up and place the contact lens on the white part of the eye, below the iris. Others like to place the lens on their eye while looking straight ahead. See which method feels more natural to you.
6. Make sure the contact lens feels comfortable
Once the contact lens is in your eye, blink a few times to get it into a comfortable position. You can also look up, down, left, and right to center it.
If the lens is in and you’re seeing clearly through that eye, it’s time to repeat the steps with the other eye! You can use the same hands for each step or swap them, it’s up to you.
Tips for Putting in Contacts
Now that you know how to put in your contacts, it’s time to hone your technique with a few special tips that make the process even smoother.
Put in your contacts in the same order, every time
Choose an order and stick to it: right eye, then left, or vice versa. This tip is especially important if your eyes have different prescriptions—you don’t want to be mixing and matching lenses. Additionally, committing to a routine will help establish muscle memory.
If possible, keep your nails short
Long nails can get in the way of seamless contact lens application, and are more likely to scratch or tear lenses during the process.
If you usually have long nails, consider going shorter while you’re learning how to put contacts in. Alternatively, you can just become extra dexterous through lots of practice!
Be mindful of the makeup and eye drops you use
Opting for oil-free makeup products and mascara that doesn’t shed a lot of fibers can help keep your contacts free of grease and irritants.
Furthermore, if you plan on applying eye drops, make sure they’re approved for use with contacts—drops that aren’t can cause your lenses to become oily or cloudy, sometimes permanently.
Cultivate calm
Learning how to put in contact lenses is a daunting prospect for many people, and it can get frustrating when your eyes seem like they aren’t cooperating. It will probably take multiple tries before it feels automatic—that’s normal!
It’s important to cheer yourself on rather than beat yourself up. When you’re in the middle of trying to put in your lenses, take it slow, breathe deeply, and know that you can start over as many times as you need.
What To Do if Your Contacts Are Uncomfortable
If you put your contacts in and something feels itchy, burny, or just “off,” then it’s time to take them out and try again.
Inspect the lens once it’s out of your eye. Can you see any signs of damage, tears, or scratches? If so, don’t put it back in.
If the lens appears undamaged and/or just a little dirty, clean it with the rub and rinse method again, and see if it feels better on your eye afterward. But don’t keep trying to wear a lens that consistently makes you uncomfortable—dispose of it and try a new one.